
A screenshot is a capture of all the visual contents on a computer or laptop screen at any given time. Taking screenshots on mobile phones is quite easy as you just have to press one or two dedicated buttons and the shot will be saved in your gallery. For laptops, the strategies vary from brand to brand. For Toshiba, the two most popular methods to take a screenshot are as follows.
Using the Keyboard and Microsoft Paint Software
Laptops have a slightly different keyboard layout in order to compensate for their compact design. Some laptops may or may not even have the PRTSC key.
- Laptops have anFn or Function key. Pressing this Fn key simultaneously with the PRTSC (Print Screen) key will capture the laptop’s screenshot into the windows clipboard (or temporary memory bank).
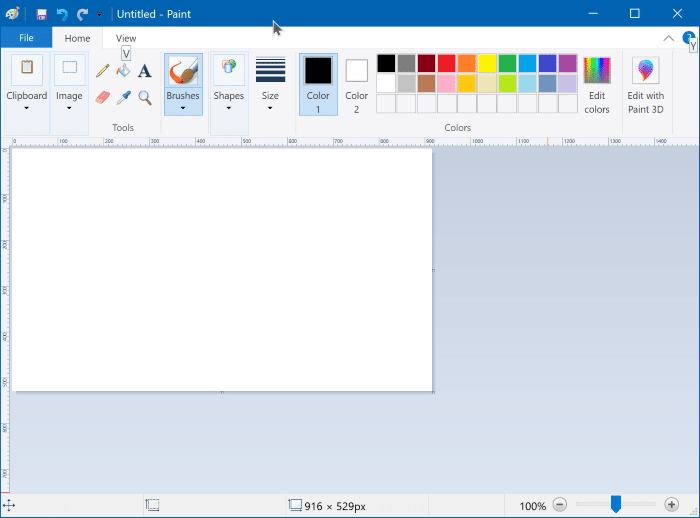
- Next, open the Microsoft Paint software and simultaneously press the CTRL and V buttons on the laptop keyboard to paste the screenshot into Microsoft Paint as an image file.
- Finally, you can edit the screenshot if you need to by using the crop function or, just save the screenshot as an image file anywhere on your laptop’s storage.
Using the Windows Snipping Tool App
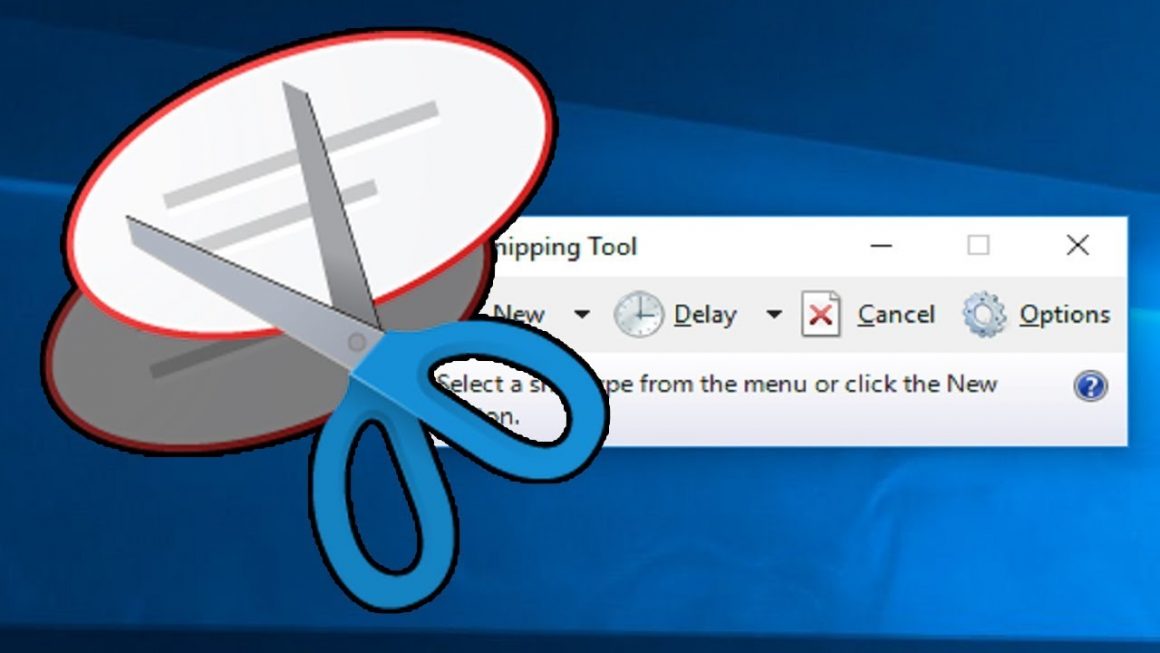
Another very popular way to take a screenshot is to use the Windows Snipping Tool app. It is particularly useful if for some reason your Toshiba laptop’s keyboard does not have a PRTSC key or its PRTSC key has malfunctioned. The snipping tool can be used in a variety of ways to suit your needs. Details on it are as follows.
- Type snipping tool into the windows search box which is in the taskbar at the bottom left corner. Open the snipping tool app and a toolbox will open. Now there are two ways you can take a screenshot using the toolbox of the snipping tool app.
- If you do not need the whole screen capture and only need to take a screenshot of a specific part of the screen then using the mouse click on “New” option in the snipping toolbox. Next, you will want to click and drag the pointer of the mouse across the portion of the screen, which you want to take a screenshot of. Now that the screenshot has been taken, you will be given the option of saving the screenshot as an image file.
- The second way to take a full-screen screenshot is to use the “Mode” button on the snipping tool toolbox. Clicking on the Mode button you will see several modes one of them being the Full-screen Snip. Using the full-screen snip you will easily take a full-screen screenshot of the entire laptop screen which you can save as an image file.
Conclusion
In conclusion, it is very simple and easy to take a screenshot of your laptop’s display using a combination of the keyboard and the Microsoft Paint software in addition to the Windows Snipping Tool app.